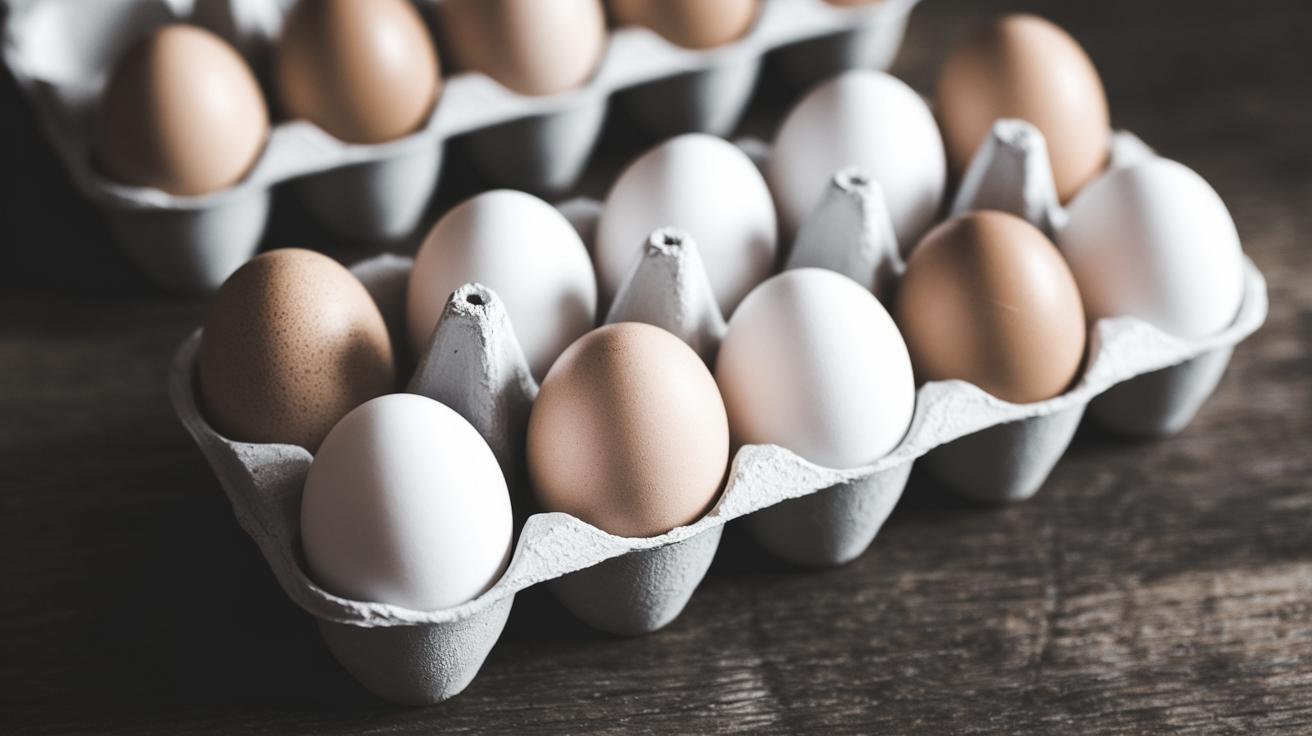
How to Hatch Chicken Eggs
Embarking on the journey of hatching chicken eggs can be a rewarding and educational experience, suitable for both novices and seasoned poultry enthusiasts. In this comprehensive guide, we will delve into the essential supplies needed for successful egg hatching, explore the crucial steps for maintaining optimal conditions in an incubator, and outline the critical rules to follow on hatching day. By equipping yourself with the necessary knowledge and understanding, you will be well-prepared to experience the joy of nurturing new life. Whether you’re curious about the process or ready to dive into incubation, this article will provide the insights you need to hatch healthy and vibrant chicks.
Supplies for Hatching Chicken Eggs
Hatching Eggs
The first critical component in the hatching process is obtaining viable hatching eggs. Seek out reputable breeders or farms to ensure the eggs are fertilized, fresh, and healthy. Fertility rates can vary, so it’s wise to have a few extra eggs as insurance against potential infertility.
Inspect the eggs for cleanliness and avoid any with cracks or deformities. The integrity of the eggshell plays a vital role in protecting the developing embryo within, and small imperfections can affect the egg’s ability to support life.
Incubator
An incubator is indispensable for maintaining the optimal environment that eggs require to develop. Choose an incubator that fits your batch size and offers reliable temperature and humidity control features. Models with automatic egg turners are especially useful, as they reduce the risk of human error.
Clean and set up the incubator before introducing any eggs. It’s important to test its functions, ensuring it’s in good working condition to maintain a stable hatching environment throughout the incubation period.
External Thermometer and Hygrometer
While many incubators come equipped with internal thermometers and hygrometers, it’s wise to use external ones to verify accuracy. Placement of these tools inside the incubator, rather than relying solely on built-in settings, helps ensure proper conditions are met.
Accurate readings for both temperature and humidity are critical as even slight deviations from optimal conditions can affect embryo development, leading to unsuccessful hatching.
Egg Candler
An egg candler is a simple yet effective tool for checking the viability of hatching eggs without causing harm. It works by shining a focused light through the eggshell to reveal developing embryos and their progression.
Using an egg candler at strategic intervals, particularly after the first week of incubation, allows for the identification of infertile eggs, giving you the opportunity to remove them and focus efforts on those developing correctly.
Hatching Chicken Eggs: How-To
Temperature Goals
Maintaining the right temperature is crucial. Most chicken eggs require a consistent temperature of around 99.5°F (37.5°C). Too high or too low can lead to poor hatch rates or developmental issues.
Regular monitoring and adjustments may be needed to counter any fluctuations, especially as environmental conditions outside the incubator can impact internal temperatures.
Humidity Goals
Humidity is just as important as temperature in egg incubation. A general aim of 40-50% humidity during the first 18 days and increasing to 65-75% for the last days is typical for chicken eggs.
Controlling humidity prevents eggs from losing or retaining too much moisture, both of which can negatively impact chick development and hatching success.
Egg Turning
Egg turning is essential to prevent embryos from sticking to the eggshell, a critical factor during the first 18 days of incubation. Turn eggs at least three times a day, though automatic turners greatly assist with this task.
Consistency in turning is key. Missed turning can compromise development, so setting reminders or using an automatic system helps ensure this critical step is not overlooked.
Loading the Incubator
When loading the incubator, ensure the eggs are positioned correctly, typically large end upward. This positioning supports the natural orientation of the developing chick.
Space the eggs so that air can circulate freely around each one. Proper air circulation assists in maintaining uniform temperature and humidity within the incubator.
Egg Candling
Candling involves using a bright light to see through the eggshell and check embryo development. Perform candling around day seven, and again at days 14 and 18.
This process allows you to monitor growth, identify any non-viable eggs, and gain insight into the hatching timeframe. It also provides knowledge to remove dud eggs, focusing energy on those that show life.
Hatching Day Rules
Rule #1: Don’t open the incubator!
On the anticipated hatching day, resist the urge to open the incubator to check on the eggs. Each time the incubator opens, temperature and humidity levels drop, which can interrupt the chicks’ emergence.
Trust in the process; patience plays a vital role in this stage. Allow the chicks to emerge at their own pace, and maintaining stable conditions supports this natural timing.
Rule #2: Think twice before assisting!
It can be tempting to help a struggling chick. However, intervening often does more harm than good, as the chick needs to build strength by pecking out on its own.
Intervene only if absolutely necessary, under guidance, and with a delicate touch. Remember, many chicks that struggle to emerge may not survive or be viable long term.
Rule #3: Have your brooder ready!
A brooder is a warm, safe haven for chicks right after they hatch. Prepare it ahead of time, ensuring it has appropriate heat sources, bedding, and chick feed.
Transitioning chicks from the incubator to a brooder should be swift and well-timed, minimizing stress and optimizing the recovery and growth stage post-hatch.
Rule #4: Know what to expect
Understand that not every egg will hatch. Even in ideal conditions, some embryos may fail to develop fully. A successful hatch rate—typically between 70-90%—depends on various factors, including genetic quality and incubation technique.
Be prepared for variability, embracing both successes and learning from challenges, fostering an iterative process of improvement for future hatches.
Other Chicken Articles You’ll Love:
-
The Ultimate Guide to Chicken Breeds
-
Raising Chickens: From Egg to Chicken
-
Troubleshooting Common Chicken Problems
-
Building the Perfect Chicken Coop
Final Thoughts On Hatching Chicken Eggs
Achieve Your Best Harvest Yet! By understanding the intricacies of egg incubation, from acquiring the proper supplies to mastering the hatching process, even beginners can experience the remarkable reward of seeing chicks peep into life. This guide has illustrated the essentials of taking care of your hatching endeavors, prompting a new appreciation for the art and science behind bringing chicks into the world.
| Stage | Key Considerations |
|---|---|
| Supplies | Acquire healthy eggs, reliable incubator, accurate thermometer & hygrometer, egg candler |
| Incubation Practice | Maintain temperature & humidity, turn eggs regularly, monitor development via candling |
| Hatching Day | Keep incubator closed, avoid assisting chicks, have brooder ready, manage expectations |