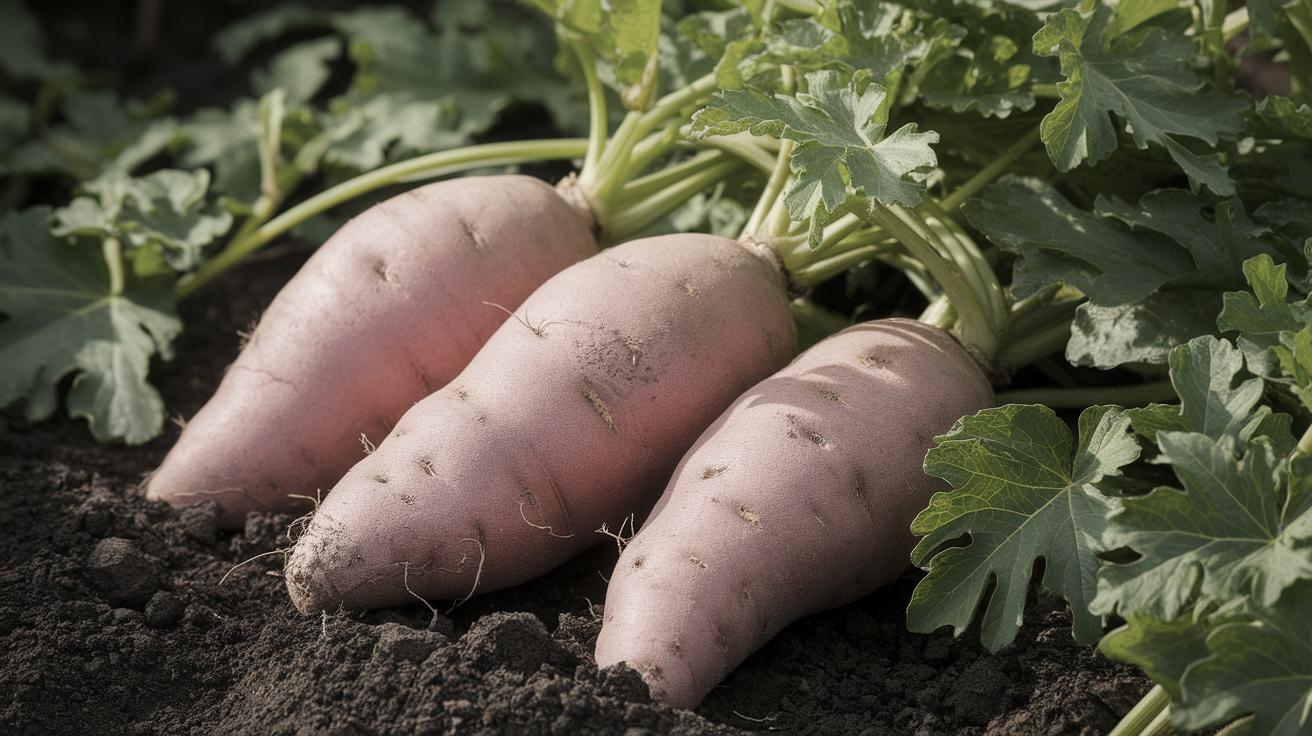
Sweet potatoes are one of the most rewarding crops for home gardeners, offering exceptional nutritional value and impressive yields when grown properly.
Understanding Sweet Potato Varieties and Growing Conditions
Sweet potatoes belong to the Convolvulaceae family and are botanically different from regular potatoes despite their similar name. These warm-season crops thrive in temperatures between 70-80°F and require a long growing season of 90-150 days. Popular varieties include Beauregard, Centennial, and Georgia Jet, each offering unique characteristics for different growing zones and culinary preferences.
Understanding your USDA hardiness zone is crucial for timing your sweet potato cultivation. In northern regions, gardeners often use black plastic mulch or raised beds to extend the growing season and maximize soil warmth for optimal tuber development.
Step 1: Start the Slips
To begin growing sweet potatoes, you need to start with slips, which are small shoots that sprout from mature sweet potatoes. Choose certified disease-free sweet potatoes from reputable suppliers, as grocery store varieties may be treated to prevent sprouting. The process begins by submerging half of the sweet potato in water, supported by toothpicks on the rim of a jar or glass.
Keep the container in a warm, sunny location with temperatures between 75-85°F for optimal slip development. Within 2-4 weeks, multiple sprouts will begin to emerge. Professional growers recommend starting slips 8-10 weeks before your last expected frost date to ensure proper timing for transplanting.
Maintain consistent water levels and change the water every 3-4 days to prevent bacterial growth. Healthy slips should reach 6-8 inches in length with visible leaf development before removal. Each sweet potato can produce 8-12 viable slips, making this method highly cost-effective for home gardeners.
Step 2: Root the Slips
After your slips have reached the appropriate length, carefully twist and remove them from the parent sweet potato. Prepare clean containers with fresh water to root the individual slips. Place the slip’s bottom 2-3 inches in water and position containers in bright, indirect light to prevent leaf scorch.
Root development typically occurs within 7-14 days under optimal conditions. Change the water every 2-3 days to maintain oxygen levels and prevent root rot. Healthy root systems should display white, fibrous roots extending 2-4 inches before transplanting.
Monitor slips for signs of disease or weakness during the rooting phase. Vigorous slips with robust root systems will establish more quickly in garden soil and produce higher yields at harvest time.
Step 3: Prepare the Soil for the Slips
Sweet potatoes require well-drained, loose soil with a pH between 5.8-6.2 for optimal nutrient uptake. Conduct a soil test 4-6 weeks before planting to determine pH levels and nutrient deficiencies. Sandy loam soils provide the ideal texture for proper tuber formation and easy harvesting.
Work the soil to a depth of 10-12 inches, incorporating 2-4 inches of aged compost or well-rotted manure. Avoid fresh manure, which can promote excessive foliage growth at the expense of root development. Create raised beds 8-10 inches high in areas with heavy clay soil or poor drainage.
Soil temperature should reach 65°F consistently before transplanting slips. Use black plastic mulch or row covers to warm soil more quickly in cooler climates. Proper soil preparation directly impacts final yield and tuber quality.
Step 4: Plant the Slips
Optimal Spacing and Planting Depth
Plant slips 12-18 inches apart in rows spaced 3-4 feet apart for adequate air circulation and growth space. Dig planting holes 4-6 inches deep, burying 2/3 of the slip stem including all roots and lower leaves. This deep planting encourages strong root establishment and reduces transplant shock.
Firm soil gently around each slip and water immediately after planting. Transplant timing is critical – wait until soil temperatures consistently reach 65°F and all danger of frost has passed. In most regions, this occurs 2-4 weeks after the last average frost date.
Consider using drip irrigation or soaker hoses for consistent moisture delivery without wetting foliage. Proper spacing prevents overcrowding and reduces disease pressure while maximizing individual plant productivity.
Step 5: Water Management and Irrigation
Consistent moisture management is essential for successful sweet potato cultivation. Newly transplanted slips require daily watering for the first week to establish roots. Once established, provide 1-1.5 inches of water weekly through deep, infrequent irrigation sessions.
Monitor soil moisture at 4-6 inch depth using a soil probe or moisture meter. Overwatering can lead to root rot and reduced tuber quality, while drought stress limits yield potential. Reduce watering frequency 3-4 weeks before harvest to concentrate sugars and improve storage quality.
Mulch around plants with organic materials like straw or shredded leaves to retain moisture, suppress weeds, and regulate soil temperature. Maintain 2-3 inches of mulch while keeping material away from plant stems to prevent pest issues.
Fertilization and Nutrient Management
Sweet potatoes have moderate fertility requirements with specific nutrient timing needs. Apply a balanced fertilizer (10-10-10) at planting, followed by side-dressing with potassium-rich fertilizer 6-8 weeks later. Avoid excessive nitrogen, which promotes leaf growth over tuber development.
Potassium deficiency significantly impacts tuber quality and storage life. Symptoms include yellowing leaf margins and reduced root development. Wood ash or potassium sulfate can address deficiencies when applied according to soil test recommendations.
Pest and Disease Management
Common sweet potato pests include sweet potato weevil, wireworms, and flea beetles. Implement crop rotation with non-related crops for 3-4 years to break pest cycles. Use row covers during early growth stages to protect young plants from insect damage.
Fungal diseases like black rot and fusarium wilt can devastate crops. Ensure proper drainage, avoid overhead watering, and select disease-resistant varieties when available. Remove and destroy infected plant material immediately to prevent spread.
Step 6: Harvest Timing and Techniques
Harvest timing depends on variety, growing conditions, and intended use. Most varieties mature in 90-120 days, indicated by yellowing vines and cooler soil temperatures. Harvest before the first frost, as cold damage significantly reduces storage quality.
Use a broad fork or spading fork to carefully lift plants, working from the side to avoid piercing tubers. Dig on dry days when possible to reduce soil adhesion and disease risk. Handle tubers gently, as bruised sweet potatoes don’t store well.
Proper harvesting technique involves loosening soil 12-18 inches from the plant center, then carefully lifting the entire root system. Brush off excess soil but avoid washing, which can introduce moisture and promote decay.
Step 7: Curing and Storage for Maximum Quality
Professional Curing Methods
Curing is essential for developing sweetness and extending storage life. Place harvested sweet potatoes in a warm (85-90°F), humid (85-90% humidity) environment for 7-10 days. This process heals minor cuts, converts starches to sugars, and toughens the skin.
Create a curing chamber using a small room with a humidifier and space heater, or use the traditional method of covering sweet potatoes with damp burlap in a warm location. Proper curing can extend storage life from weeks to 6-10 months.
After curing, store sweet potatoes at 55-60°F with 75-80% humidity in a well-ventilated area. Avoid refrigeration, which causes chilling injury and off-flavors. Check stored tubers monthly and remove any showing signs of decay.
Maximizing Yield and Quality
Advanced growing techniques can significantly increase yields. Hill soil around vines 4-6 weeks after planting to encourage additional root formation. This practice, called “hilling,” can increase harvest by 20-30% in optimal conditions.
Consider succession planting in longer growing seasons, starting new slips every 2-3 weeks for extended harvest periods. This technique works particularly well in USDA zones 8-10 where growing seasons exceed 150 days.
Troubleshooting Common Growing Problems
Poor tuber formation often results from excessive nitrogen, inadequate potassium, or inconsistent watering. Cracking occurs when irregular moisture causes rapid growth spurts. Maintain consistent soil moisture and balanced nutrition to prevent these issues.
Stringy or woody tubers indicate harvest delays or drought stress during development. Monitor plants closely and harvest at proper maturity for optimal texture and flavor.
Final Thoughts and Success Tips
| Step | Description | Timeline | Key Success Factors |
|---|---|---|---|
| Start the Slips | Submerge half of a mature sweet potato in water to develop slips over several weeks. | 8-10 weeks before last frost | Use disease-free tubers, maintain 75-85°F temperature |
| Root the Slips | Root slips in water until a healthy root system develops. | 2-3 weeks | Change water every 2-3 days, provide bright indirect light |
| Prepare the Soil | Use well-drained, sandy loam soil enriched with organic matter for ideal growth. | 4-6 weeks before planting | pH 5.8-6.2, soil temperature 65°F+ |
| Plant the Slips | Plant slips 12-18 inches apart in the prepared soil, post-frost. | 2-4 weeks after last frost | Bury 2/3 of stem, water immediately after planting |
| Water Management | Ensure consistent watering, about 1-1.5 inches per week, to support growth. | Throughout growing season | Deep, infrequent watering; reduce before harvest |
| Harvest | Harvest when leaves yellow, gently using a garden fork. | 90-150 days after planting | Harvest before first frost, handle gently |
| Cure and Store | Cure harvested sweet potatoes in a warm, humid area for 7-10 days before storage. | Immediately after harvest | 85-90°F, 85-90% humidity during curing |