How Many Days for Zinnias to Bloom: A Complete Guide for Gardeners
Zinnias, with their vibrant colors and diverse shapes, are a delightful addition to any garden. Understanding the growth cycle of zinnias can greatly enhance the gardening experience. From seed selection to post-harvest care, each step in the growth process plays a crucial role in ensuring a successful bloom. This blog post will guide you through the journey of growing zinnias, covering everything from choosing seeds, sowing methods, and planting spacing to the growing process, harvesting, and post-harvest care. By following these comprehensive steps, you’ll be well-equipped to nurture your zinnias from seed to stunning bloom. We’ll also address some common questions and offer further resources for those eager to delve deeper into the world of zinnias.
Choosing Seeds
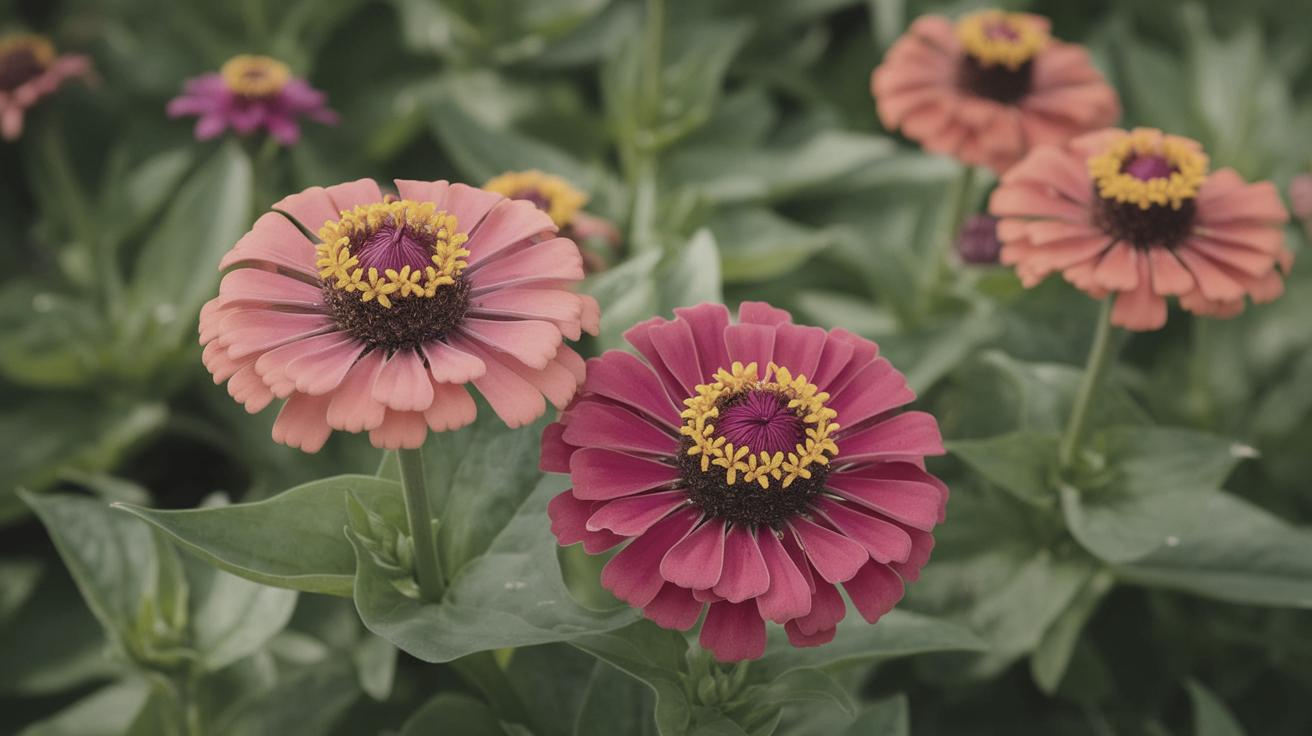
Selecting the right seeds is the foundation of a successful zinnia growth journey. Zinnias come in a variety of colors, shapes, and sizes, so understanding your personal preferences and garden needs is crucial. Consider factors such as bloom size, plant height, and color palette. Popular varieties include the giant dahlia-flowered zinnia, which is known for its large blooms, and the more compact ‘Thumbelina’ variety, which is ideal for pots and small gardens.
When choosing seeds, it’s important to ensure that they’re from a reputable supplier to guarantee high-quality germination. Opt for organic seeds whenever possible to support sustainable gardening practices. Heirloom seeds, which are traditional varieties passed down through generations, not only offer unique blooms but also contribute to biodiversity. Each type of zinnia brings its own charm and determining your goals will guide your selection process.
How to Sow
The sowing process begins with preparing your soil or growing medium. Zinnias thrive in a well-draining, fertile environment. It’s advisable to start the seeds indoors around 4 to 6 weeks before the last expected frost date in your area. Use seed trays or small pots filled with a seed-starting mix to encourage healthy root development. Plant the seeds approximately 1/4 inch deep and keep the soil moist but not waterlogged.
Ensure a warm environment with temperatures around 70-75°F (21-24°C) to promote germination. Within a week to two weeks, you should see the first signs of growth. Once the last frost has passed, harden off the seedlings by gradually exposing them to outdoor conditions over a week-long period before transplanting them into your garden. This acclimation process helps them adjust to direct sunlight and varying temperatures.
Plant Spacing
Proper spacing is essential for zinnias to flourish as it ensures each plant has access to sufficient resources like sunlight, nutrients, and water, thus minimizing the risk of disease. For taller zinnia varieties, a spacing of 12 to 18 inches apart is recommended, while shorter varieties should be spaced about 6 to 10 inches apart. This spacing reduces competition and ensures healthy air circulation, preventing fungal diseases.
When transplanting, handle the seedlings carefully by their leaves instead of the stem to avoid damage. Plant them at the same depth they were in the pots and water thoroughly after planting. Adding a layer of mulch around each plant can help retain soil moisture, suppress weeds, and regulate soil temperature, creating an ideal environment for growth.
Growing On
Once planted, caring for zinnias involves regular watering and feeding. Ensure the plants receive about one inch of water per week, either from rainfall or supplemental irrigation. However, avoid overhead watering to reduce the risk of mildew. Feeding zinnias monthly with a balanced fertilizer can promote vigorous growth and abundant flowering.
Pest control is another important aspect of caring for zinnias. While they are generally low-maintenance, they can attract aphids and spider mites. Monitor your plants regularly and address infestations promptly using insecticidal soap or neem oil. Additionally, deadheading spent blooms encourages continuous flowering and prevents seed setting, which diverts energy from further blooming.
Stage of Harvest
The stage of harvest is a rewarding experience as it signifies the culmination of your efforts into beautiful blooms. Zinnias typically begin to bloom about 60 to 70 days after sowing, depending on the variety and growing conditions. To determine the best time for harvesting, gently press on the petals. If they feel firm and the florets are fully open without visible pollen, they are ready to be cut.
Harvesting in the early morning or late afternoon, when the temperatures are cooler, can help maintain the freshness of the blooms. Use sharp, sterilized scissors or pruning shears to cut the stems at a 45-degree angle, thus maximizing water uptake. Place the cut flowers directly into a container of fresh water to keep them hydrated during transport.
Post Harvest Care
Post-harvest care extends the vase life of your zinnia blooms, allowing you to enjoy them for longer. Once you’ve brought the flowers indoors, remove any leaves that would be submerged in water to prevent bacterial growth. Changing the water every two to three days and re-cutting the stems can further prolong their freshness.
Position the vase in a cool location, away from direct sunlight and ripening fruit, which emits ethylene gas and can shorten the lifespan of the flowers. Adding a floral preservative to the water can also help nourish the blooms and prevent bacteria build-up. With these steps, your zinnias can remain vibrant for 7 to 10 days, adding beauty to your home environment.
Questions?
Many gardeners encounter questions along their zinnia-growing journey. Common inquiries include concerns about leaf spotting, inconsistent blooming, and pest management. Leaf spotting can often be mitigated with proper watering techniques and ample spacing, while inconsistent blooming may be resolved by ensuring adequate sunlight and nutrition.
Don’t hesitate to reach out to local gardening clubs or extension offices for personalized advice. Engaging with online gardening communities can also be a valuable resource for troubleshooting issues and sharing success stories. Remember, each garden provides its own learning experience, and fellow gardeners are often eager to share their knowledge.
Ready for More?
If the vibrant world of zinnias has captivated your interest, consider exploring additional aspects of gardening that complement your newfound skills. Delve into companion planting, where you learn about other species that thrive alongside zinnias, enhancing the ecological balance of your garden. Alternatively, you might explore advanced topics such as hybrid seed development or organic pest management strategies.
Countless books, blogs, and courses are available for gardeners motivated to deepen their knowledge. Whether you find joy in experimenting with new varieties or discovering innovative techniques, continuous exploration allows for personal growth as a gardener. The journey with zinnias is merely the beginning of a lifelong connection with the world of plants and nature.
Lessons Learned
| Stage | Key Points |
|---|---|
| Choosing Seeds | Select varieties based on size, color, and growth habits for your garden needs. |
| How to Sow | Start indoors 4-6 weeks before the last frost, maintaining moist soil and warm temperatures. |
| Plant Spacing | Provide 6-18 inches between plants to ensure proper growth and air circulation. |
| Growing On | Regular watering, feeding, and pest management are crucial for healthy zinnia growth. |
| Stage of Harvest | Harvest when blooms are fully open, cutting stems at a 45-degree angle for optimal water uptake. |
| Post Harvest Care | Re-cut stems, refresh water, and use floral preservatives to extend vase life. |