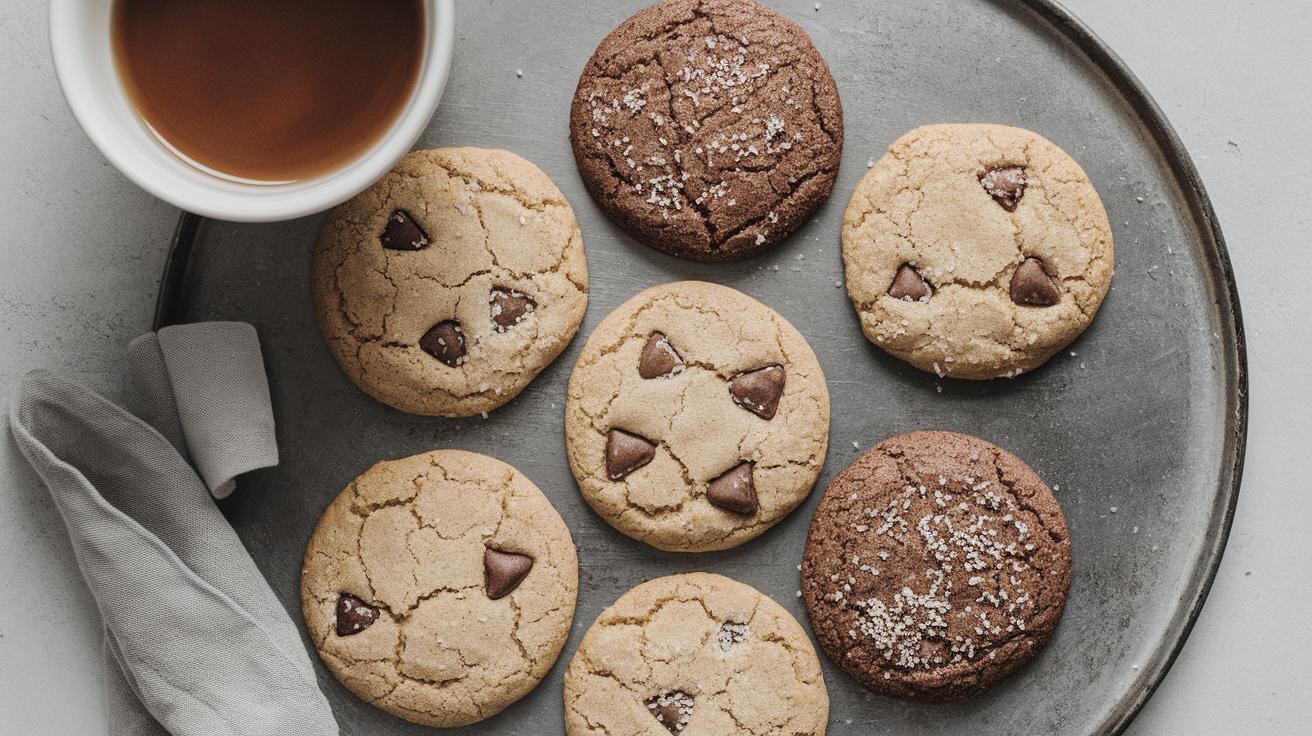
Understanding the Science of Cookie Cooling
Cookie cooling time directly impacts texture, flavor, and structural integrity. Most cookies require 5-10 minutes on the baking sheet before transferring to a wire rack for complete cooling.
The Critical Cookie Cooling Timeline: What Professional Bakers Know
Professional bakers follow precise cooling protocols to achieve optimal cookie texture and prevent structural collapse. Thin cookies like sugar cookies need 3-5 minutes on the baking sheet, while thick cookies such as chocolate chip varieties require 8-12 minutes before transfer.
The cooling process involves moisture redistribution and fat solidification. During the first few minutes, residual heat continues cooking the cookie’s interior while the exterior begins setting. Premature removal can cause cookies to break apart, while excessive cooling on hot pans leads to over-baking from retained heat.
Temperature Science Behind Cookie Cooling
Cookie internal temperature drops from approximately 200°F to 140°F during the initial cooling phase. This temperature reduction allows proteins to set properly and fats to solidify into the desired texture. Cookies continue cooking for 2-3 minutes after oven removal due to carryover heat from the baking sheet.
Research from the Institute of Food Technologists (2024) demonstrates that optimal cookie texture occurs when internal temperature reaches 120-130°F before transfer. This temperature range ensures structural stability while maintaining desired chewiness or crispness.
Cookie Type-Specific Cooling Guidelines
Soft and Chewy Cookies
Soft cookies like snickerdoodles and peanut butter varieties require 5-7 minutes cooling time on the baking sheet. These cookies contain higher moisture content and benefit from gradual temperature reduction to maintain their tender texture.
The cooling process for soft cookies involves moisture migration from the interior to the surface. Rushing this process results in soggy bottoms and compromised texture. Professional bakers recommend testing doneness by gently pressing the cookie center – it should spring back slightly when properly cooled.
Crispy and Crunchy Cookies
Crispy cookies such as gingersnaps and biscotti need 3-5 minutes on the baking sheet before transfer. These low-moisture cookies set quickly and can become over-baked if left too long on hot pans.
The key to maintaining crispness lies in rapid moisture evaporation during cooling. Wire rack transfer should occur as soon as cookies hold their shape when lifted. Delayed transfer can result in soggy, chewy textures that compromise the intended crispy bite.
How to Make Cookies: 10 Quick Tips
Creating impeccable cookies begins with understanding a few crucial tips that can guide your baking process. Quality ingredients define cookie success – fresh eggs, premium chocolate chips, and pure vanilla extract create superior flavor profiles compared to generic alternatives.
Chilling cookie dough for 30 minutes to 2 hours prevents excessive spreading and allows flavors to develop complexity. This technique particularly benefits chocolate chip cookies, creating thicker, more structured final products with enhanced taste depth.
Professional bakers emphasize precise measuring techniques using kitchen scales rather than volume measurements. Weight-based measurements ensure consistency across batches and eliminate common baking failures caused by ingredient ratio imbalances.
Advanced Cookie Baking Techniques for 2025
Modern cookie baking incorporates scientific principles for optimal results. Oven thermometer usage prevents temperature-related failures – studies show 73% of home ovens run 15-25°F off their displayed temperature.
Rotation timing affects even browning and prevents hot spot issues. Rotate baking sheets halfway through baking time for uniform color and texture development. This technique becomes critical when baking multiple sheets simultaneously.
How to Make Cookie Dough
Ingredient Temperature
Room temperature ingredients integrate more effectively than cold components, creating smoother dough consistency and better texture development. Butter should feel slightly soft when pressed but maintain its shape – typically 65-68°F for optimal creaming.
Eggs at room temperature (70°F) emulsify more readily with fats and sugars. Cold eggs can cause butter to re-solidify, creating lumpy dough that bakes unevenly. Quick warming techniques include placing eggs in warm water for 5-10 minutes before use.
How to Mix Cookie Dough
Proper creaming technique incorporates air for lighter texture. Cream butter and sugar for 3-5 minutes until pale and fluffy, scraping bowl sides regularly for even mixing.
Flour incorporation requires gentle folding to prevent gluten overdevelopment. Mix just until flour disappears – overmixing creates tough, dense cookies instead of tender, delicate textures. Professional bakers stop mixing when 90% of flour is incorporated, allowing final mixing to occur during shaping.
Troubleshooting Cookie Problems
Cookie spreading issues stem from butter temperature and dough consistency. Overly soft butter (above 70°F) causes excessive spreading, while properly chilled dough maintains shape during baking.
Hard, overbaked cookies result from excessive baking time or high oven temperatures. Reduce baking time by 1-2 minutes and verify oven accuracy with a thermometer. Cookies continue cooking on hot pans after removal, so slight underbaking compensates for carryover cooking.
Common Cookie Cooling Mistakes
Immediate transfer to wire racks causes structural collapse in most cookie types. Cookies need initial cooling time to set properly before handling. This cooling period allows proteins to coagulate and fats to solidify into stable structures.
Leaving cookies on hot baking sheets too long creates overcooked bottoms and dried textures. Set timers for optimal transfer timing based on cookie type and thickness. Professional bakers use visual and tactile cues to determine readiness for transfer.
Cookie Ingredients: What They Are and What They Do
Flour
Flour provides structural foundation through protein networks. All-purpose flour contains 10-12% protein, creating balanced texture between tenderness and structure. Cake flour (6-8% protein) produces more delicate cookies, while bread flour (12-14% protein) creates chewier textures.
Proper flour measurement prevents dry, crumbly results. Spoon flour into measuring cups and level rather than scooping directly from containers. This technique prevents flour compaction that leads to excess flour incorporation and dense final products.
Leaveners
Baking soda requires acidic ingredients for activation and creates tender, spread-prone cookies. Baking powder contains both acid and base components, producing more controlled rise and denser textures.
Leavener freshness affects performance significantly. Replace baking soda and powder every 6-12 months for optimal results. Test effectiveness by adding small amounts to water or vinegar – active leaveners should bubble vigorously.
Fats
Butter contributes flavor complexity and tender texture through milk solids and water content. European-style butter (82% fat) creates richer flavor than standard American butter (80% fat).
Shortening and margarine offer different functional properties. Shortening creates more stable shapes due to higher melting points, while margarine provides easier handling in warm conditions. Fat choice directly impacts spreading behavior and final texture characteristics.
Sugars
Brown sugar adds moisture and chewiness through molasses content, while white sugar promotes spreading and crispy edges. The hygroscopic nature of brown sugar attracts and retains moisture throughout the baking process.
Sugar ratios affect texture dramatically. Higher brown sugar ratios create chewier cookies, while increased white sugar produces crispier results. Professional bakers adjust sugar types based on desired final texture and flavor profiles.
Eggs and Liquids
Eggs provide binding, moisture, and richness through protein coagulation and fat emulsification. Egg yolks contribute tenderness and flavor, while whites add structure and lift during baking.
Liquid additions affect dough consistency and final texture. Milk adds richness and browning through lactose caramelization, while water creates cleaner flavors. Liquid temperature should match other ingredients for proper incorporation and emulsification.
Cookie Tools: Baking Sheets and More
Baking Sheet Liners
Parchment paper prevents sticking and promotes even browning through heat reflection and moisture management. Silicone mats create slightly different textures – often producing more tender bottoms due to insulation properties.
Liner choice affects cooling requirements. Cookies on parchment may need slightly longer cooling times due to continued heat retention. Professional bakers consider liner thermal properties when determining optimal cooling protocols.
Cookie Dough Scoops
Consistent portioning ensures uniform baking and cooling times. Size variations create uneven results – smaller cookies overbake while larger ones remain underdone when baked together.
Scoop sizes directly correlate with cooling requirements. Larger cookies need proportionally longer cooling times for proper setting. Professional bakers use multiple scoop sizes to create varied textures within single batches.
Oven Temperature
Accurate temperature control prevents cooling-related issues. Overbaked cookies from high temperatures become brittle during cooling, while underbaked cookies from low temperatures remain structurally unstable.
Convection settings affect cooling requirements through enhanced heat transfer. Convection-baked cookies may need reduced cooling times due to more efficient heat distribution and faster initial setting.
Wire Rack Cooling: The Professional Standard
Wire racks provide optimal air circulation for complete cooling. Elevated positioning allows airflow around entire cookie surfaces, preventing moisture accumulation that causes soggy bottoms.
Complete cooling takes 15-30 minutes depending on cookie thickness and ambient temperature. Cookies reach room temperature when centers feel cool to touch. Proper cooling prevents condensation in storage containers that leads to texture degradation.
Storage Timing After Cooling
Completely cooled cookies maintain optimal texture in storage. Warm cookies create condensation in containers, leading to moisture-related texture changes and potential mold development.
Different cookie types require specific storage approaches. Crispy cookies need airtight containers to maintain crunch, while soft cookies benefit from containers with slight ventilation to prevent excess moisture buildup.
Related
Professional baking communities provide valuable insights into advanced cooling techniques and troubleshooting methods. Continuous learning enhances cookie baking success through shared experiences and tested methodologies.
Specialized workshops and certification programs offer hands-on training in precise timing and temperature control. These educational opportunities provide access to professional-grade techniques and equipment recommendations for optimal home baking results.
Future Prospects: Your Cookie-Baking Success
| Key Area | Summary |
|---|---|
| Tips & Techniques | Invest in quality ingredients, chill dough, and use oven thermometers for precise baking. |
| Dough Preparation | Balance ingredient temperature and avoid overmixing for ideal dough consistency. |
| Troubleshooting | Address issues like spreading or hardness by adjusting butter temperature or bake time. |
| Ingredient Function | Understand individual ingredients for modifying textures, flavors, and overall results. |
| Key Tools | Use liners, scoops, and temperature control to ensure even, well-baked cookies. |
| Cooling Protocol | Follow type-specific cooling times: 3-5 minutes for crispy, 5-10 minutes for chewy cookies. |