How Often to Water Pumpkins: A Comprehensive Guide
Growing pumpkins can be a rewarding experience, whether you’re aiming to carve the perfect jack-o’-lantern or whip up a delicious homemade pumpkin pie. This blog post guides you through the essential steps of growing pumpkins, from selecting the ideal spot in your garden to understanding the importance of proper watering. We delve into seed selection, planting techniques, pest management, and crucial watering tips. By the end, you will be well-equipped with valuable insights to successfully grow your pumpkin patch. With each step tailored to optimize your gardening efforts, let’s embark on this journey from seed to harvest.
Step 1: Pick the Perfect Spot, Sunlight Edition
One of the most critical decisions in growing pumpkins is choosing the right location. Pumpkins are sun-loving plants; they require a lot of sunlight to thrive. Ideally, you will want a spot that receives at least six to eight hours of direct sunlight daily. This amount of sun exposure will ensure that the plants can photosynthesize effectively, contributing to vigorous growth and fruit development.
Moreover, an open area with ample sunlight reduces the likelihood of mold and fungal diseases that thrive in shady, damp environments. As you plan your garden’s layout, assess which parts of your yard have uninterrupted sunlight throughout the day. In some regions, adjusting the planting position to receive east or south-east exposure can maximize the efficiency of sunlight absorption.
Step 2: Pick the Perfect Spot, Soil + Watering Edition
Once you’ve found a sunlit spot, the next consideration is soil quality. Pumpkins prefer well-drained, fertile soil with a pH range of 6.0 to 7.5. If the soil in your area doesn’t meet these requirements, consider amending it with compost or well-rotted manure to enhance its nutrients. Additionally, sandy loam soil works best because it supports drainage while retaining the necessary moisture.
Watering is another critical aspect of soil preparation. Establish a watering schedule that complements both the weather conditions and the soil type. For instance, during dry spells, you’ll need to water more frequently to prevent the soil from drying out completely. A consistent watering schedule helps maintain moisture, which is vital for keeping the pumpkins’ roots healthy and hydrated.
Step 3: Choosing Your Seeds
When it comes to pumpkin varieties, there’s a wide array to choose from, each suited to different climates and purposes. Consider the space available in your garden and your intended use for the pumpkins. If you want to carve jack-o’-lanterns, opt for varieties like ‘Jack O’ Lantern’ or ‘Howden’. For pies, ‘Sugar Pie’ pumpkins are ideal due to their sweet flesh.
Plan your planting according to the harvest timeline of the chosen variety. Some pumpkins may take 75-100 days to mature, so align your planting schedule with your intended harvest season. Additionally, sourcing seeds from reputable suppliers guarantees that you’re receiving high-quality, perhaps even disease-resistant seeds, primed for a successful growing season.
Step 4: Make Your Mounds, Plant Your Seeds
Creating mounds for your pumpkin plants offers multiple benefits, including improved drainage and increased sun exposure. Form mounds that are about 12 inches high and 18 inches wide. This raised formation ensures that excess water drains away from the roots, preventing rot and other moisture-related ailments.
Once your mounds are ready, plant four to six seeds per mound, spaced about an inch deep. Later, when the seedlings sprout, thin them to about two healthy plants per mound, ensuring enough room for each plant to grow vigorously. This step also prevents nutrient competition, fostering a more robust and fruitful crop.
Step 5: Water, Water, Water!
Consistent watering is integral to pumpkin growth, particularly during germination and fruit setting stages. Pumpkins need about 1 to 1.5 inches of water per week, either from rainfall or supplemental watering. Watering is best done in the morning so that the foliage has time to dry during the day, reducing disease risk.
Implementing a deep watering strategy encourages strong root growth. Rather than frequent, shallow watering, a thorough soak encourages the roots to grow deeper into the soil, searching for moisture, thereby enhancing plant stability and nutrient absorption. During periods of extreme heat, additional watering may be necessary.
Step 6: Watch Them Grow & Watch Out For Pests and Infections
As your pumpkins grow, they may attract various pests and diseases. Common pests like squash bugs and aphids can be deterred by introducing beneficial insects such as ladybugs or applying organic insecticidal soap. Keep an eye out for powdery mildew, a fungal disease that can affect pumpkin plants if humidity is high.
Regularly inspect your plants for any signs of distress or infestation. Early detection is key to managing issues before they escalate. Employ organic remedies wherever possible to maintain a healthy, environmentally friendly garden ecosystem.
Step 7: Flowers!
Pumpkin plants produce both male and female flowers, a vital process for fruit production. Initially, you may notice a predominance of male flowers, which play an essential role in pollinating the female blossoms. It’s crucial for these flowers to be pollinated, usually with the aid of bees or other insects.
If natural pollinators are scarce, consider manually pollinating the flowers using a small brush. Gently transfer pollen from the male flowers to the female flowers. This intervention can significantly boost your pollination success rate, ensuring a bountiful harvest.
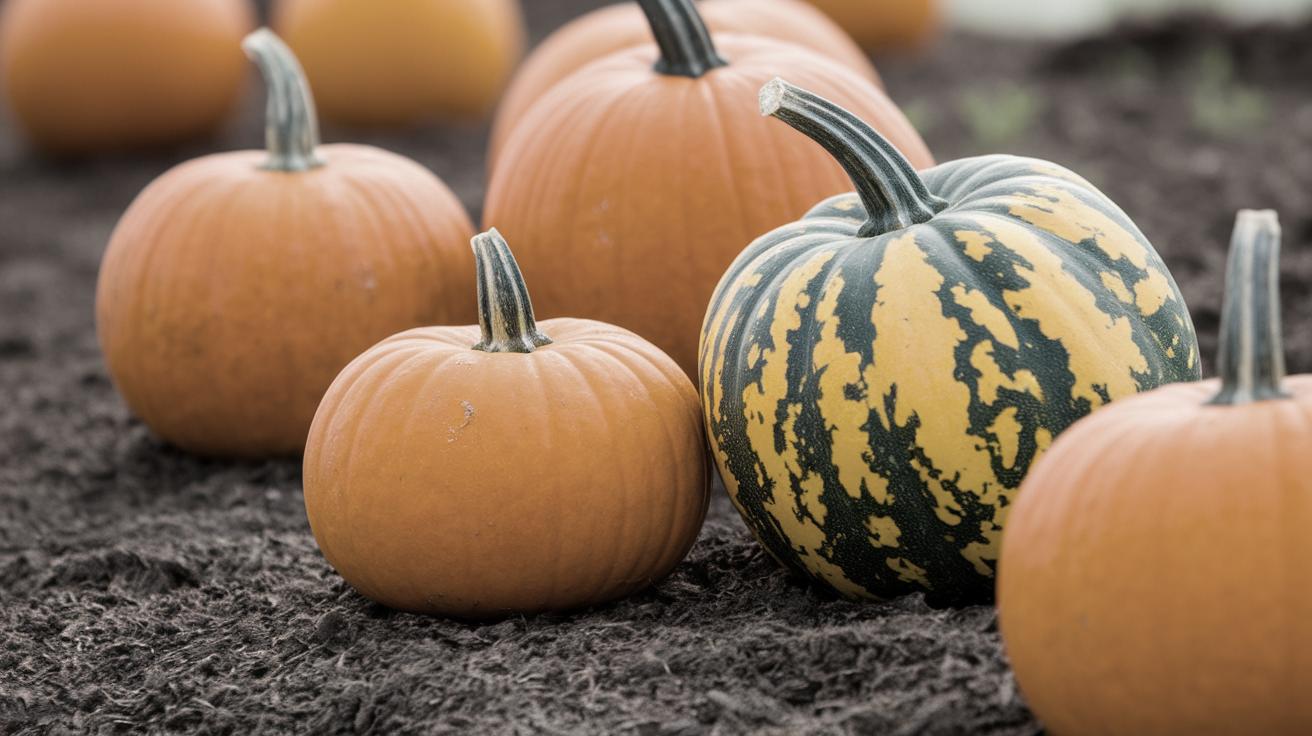
Step 8: Pumpkin Growth & Harvesting
Monitoring the progress of your pumpkins as they mature is a thrilling part of the process. You’ll notice the pumpkin changing color and hardening as it nears maturity. When the skin turns the appropriate color for its variety and the rind is hard, it’s usually ready for harvest.
Use a sharp knife or pruners to cut the pumpkin from the vine, leaving a few inches of the stem attached. This practice helps prevent decay at the site of the cut. Harvest before heavy frosts as they can damage both the quality and the storage potential of your pumpkins.
You Might Also Like…
Expanding your gardening horizons can lead to discovering other enjoyable and rewarding plants to grow. Consider trying your hand at cultivating squash or zucchinis, which offer similar growth needs and challenges.
For those interested in companion planting, growing herbs like mint or basil alongside your pumpkins can help repel certain pests while attracting beneficial insects. Each new plant brings with it unique methods and benefits, boosting your gardening skills and enriching the environment.
Lessons Learned
| Step | Action | Key Considerations |
|---|---|---|
| 1 | Pick the Perfect Spot, Sunlight Edition | 6-8 hours of sunlight required; choose an open area. |
| 2 | Pick the Perfect Spot, Soil + Watering Edition | Well-drained, fertile soil; consistent watering. |
| 3 | Choosing Your Seeds | Select seeds based on purpose and climate. |
| 4 | Make Your Mounds, Plant Your Seeds | Mound to improve drainage; plant 4-6 seeds per mound. |
| 5 | Water, Water, Water! | 1-1.5 inches of water weekly; deep watering recommended. |
| 6 | Watch Them Grow & Watch Out For Pests and Infections | Inspect for pests and diseases; use organic remedies. |
| 7 | Flowers! | Encourage pollination; consider hand-pollinating. |
| 8 | Pumpkin Growth & Harvesting | Harvest when pumpkins mature; cut with stem attached. |